

|
|
 |
Experienced BiteFX users are well aware of the synergistic power of combining animations and patients’ photographs to successfully explain complex occlusal concepts and transfer ownership of the problem to their patients.
With the session report feature, patients can walk out the door with a printed report, or receive an email with the report attached as a PDF file.
The session report includes all of the items (animations and pictures) that were shown to the patient as a reminder of what they saw and heard during the consultation.
All of the animations and photographs included in the BiteFX software come with BiteFX-provided notes that can be kept “as is” for the report, replaced completely, or edited. Obviously, however, imported photographs do not include any BiteFX-provided notes so you are likely to want to add notes to those imported photographs.
There are two ways to do this, prior to the consultation and after the consultation has been conducted.
Creating Session Notes Prior to the Consultation
You can create the notes as you import the pictures by following these steps:
- With the Animation, Picture or Presentation Template panel open, click on the "Add picture album" (for detailed instructions how to import pictures, read the blog "How to Import Images Into BiteFX for Windows").
This brings up a Choose Pictures Folder dialog which you use to navigate to and select the folder containing the pictures to be imported. BiteFX creates shortcuts to all the pictures in the selected folder and adds an imported album row in the Picture panel, including the name of the imported folder and a thumbnail image for each picture file contained in the folder. - Open the Picture panel, scroll down to the imported album and click anywhere inside the thumbnail of the image for which you want to add your session notes so it is displayed in the main screen.


- Now click on the Menu button and then select Edit session notes.


- This brings up the notes editing window.
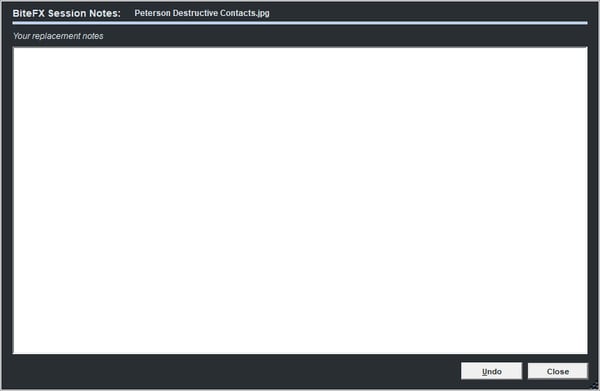
Begin typing to add your notes for the selected photograph. When you are finished, click on "Close".
The screen will revert to the selected photograph.
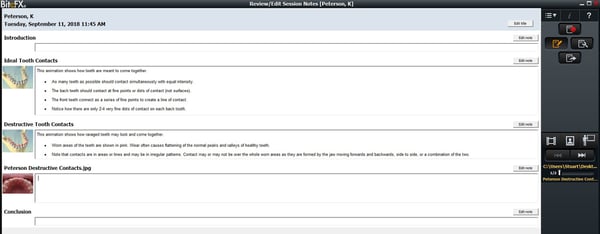
- From now on, whenever this photograph is used in a session recording, the notes you added will always appear in the Review/Edit Session Notes window and in your published Session Report until you either change the notes or delete them.
Here’s a recap of the process described in detail above:
- Import your patient’s photo(s).
- Open the Picture panel and select the imported photo for which you want to add notes so it is displayed in the main screen.
- Open the Menu, then select Edit session notes.
- Type in the notes you want associated with that photograph, and then click on "Close".
- Repeat for additional imported photographs as needed.
Creating Session Notes After a Session Recording Has Been Made
You can add the session notes after you've recorded your presentation using the following steps. Your notes will still be saved for use in future session reports.
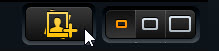
- Click on the Edit session recording on/off button (the leftmost button in the array) to open the Review/Edit Session Notes window.

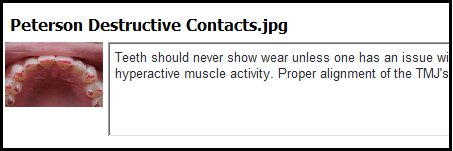
- Locate the photograph for which you wish to add notes and either 1) click anywhere inside the blank text box to the right of the thumbnail, or 2) click on the "Edit note" button on the upper right corner of the box to open the editing window.

- Type in the notes you wish to associate with the photograph using your keyboard, and then click on "Close".
- Whenever this picture is used in another session recording, the notes you added will always appear in the Review/Edit Session Notes window and in your published Session Report until you either change the notes or delete them.
- Select any remaining photographs for which you need to add notes, and repeat steps 2 and 3 above.
If you need further assistance adding notes to your imported pictures before or after a session recording has been made, please send us an email or call us at:
1-877-2BiteFX (1-877-224-8339)
International (+1) 530-582-1189
Monday thru Friday, 8am to 5pm Pacific time