

From the desk of Stu Harman, our support and coaching expert. In this article Stu explains how to avoid getting into a situation where the thumbnails of imported pictures disappear from the Picture panel, and why the image of an imported picture you select only displays "Image not available".
If you or another staff member move the folder from its original location after it was imported, you can cause thumbnails to disappear and a black screen to be displayed instead of the picture. This article describes how to avoid the problem.
- Introduction
- What it Looks Like When an Album is Imported and the Folder Has Not Been Moved
- What Happens When You Move the Folder After Importing It
- Saved Presentations Are Affected As Well
- Helpful Hints to Avoid "Image not available" Being Displayed
Introduction
The effectiveness of BiteFX is magnified when combining animations and pictures to show your patient the mechanics of normal and destructive occlusion, and their clinical effects on teeth. BiteFX also lets you import pictures you have taken of your patient so they can be included in that synergistic presentation. In doing so, the patient can better understand the nature of malocclusion, and see that they indeed have occlusal disease, effectively transferring ownership of the problem to that patient.
The process for importing your own pictures is very simple (click here for detailed instructions how to import pictures into BiteFX). Here's a quick summary:
- Put your JPG, BMP or PNG picture files you want to import into a folder.
- Open the Animation, Picture or Presentation Template panel and click on the Add picture album icon.
- Find the folder in the Choose Pictures Folder dialog and click on the folder's name to select it.
- Click on "Select Folder".
The import process causes the BiteFX software to create a shortcut command path to each picture file in the folder you imported, and adds an album group row to the Picture panel with thumbnails of each picture in the folder. For example, let's say you've created a folder on your server drive, X/:Consult, named it Wilson and then added your patient's pictures to the folder. After you import the folder, when you click on any imported picture thumbnail, the software will use the following shortcut pathway to find and display that picture in BiteFX.
X:/Consult/Wilson/Picture 1
Even though it appears that the pictures are now embedded in BiteFX, the folder's actual location and the pictures files within it have not been moved. When you click on one of the imported picture thumbnails in the Picture panel (or from a presentation you've created), the software follows that shortcut path to navigate to that folder and open that thumbnail's picture file.
Once the shortcut path has been created for the folder and picture files in it, you must not move, delete, or change the location of the folder. If you do, the shortcut path looks for the folder's original location, and since it's no longer there it will cause an "Image not available" window to be displayed instead of the picture you selected.
What it Looks Like When an Album is Imported and the Folder Has Not Been Moved
Here are some screenshots that show what you should expect to see when you have imported an album of pictures, the path has not been altered and the folder has not been moved:
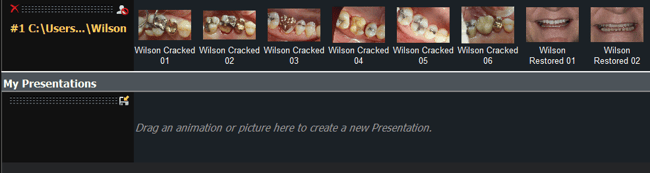
Fig 1. Imported "Wilson" album row in the Picture panel
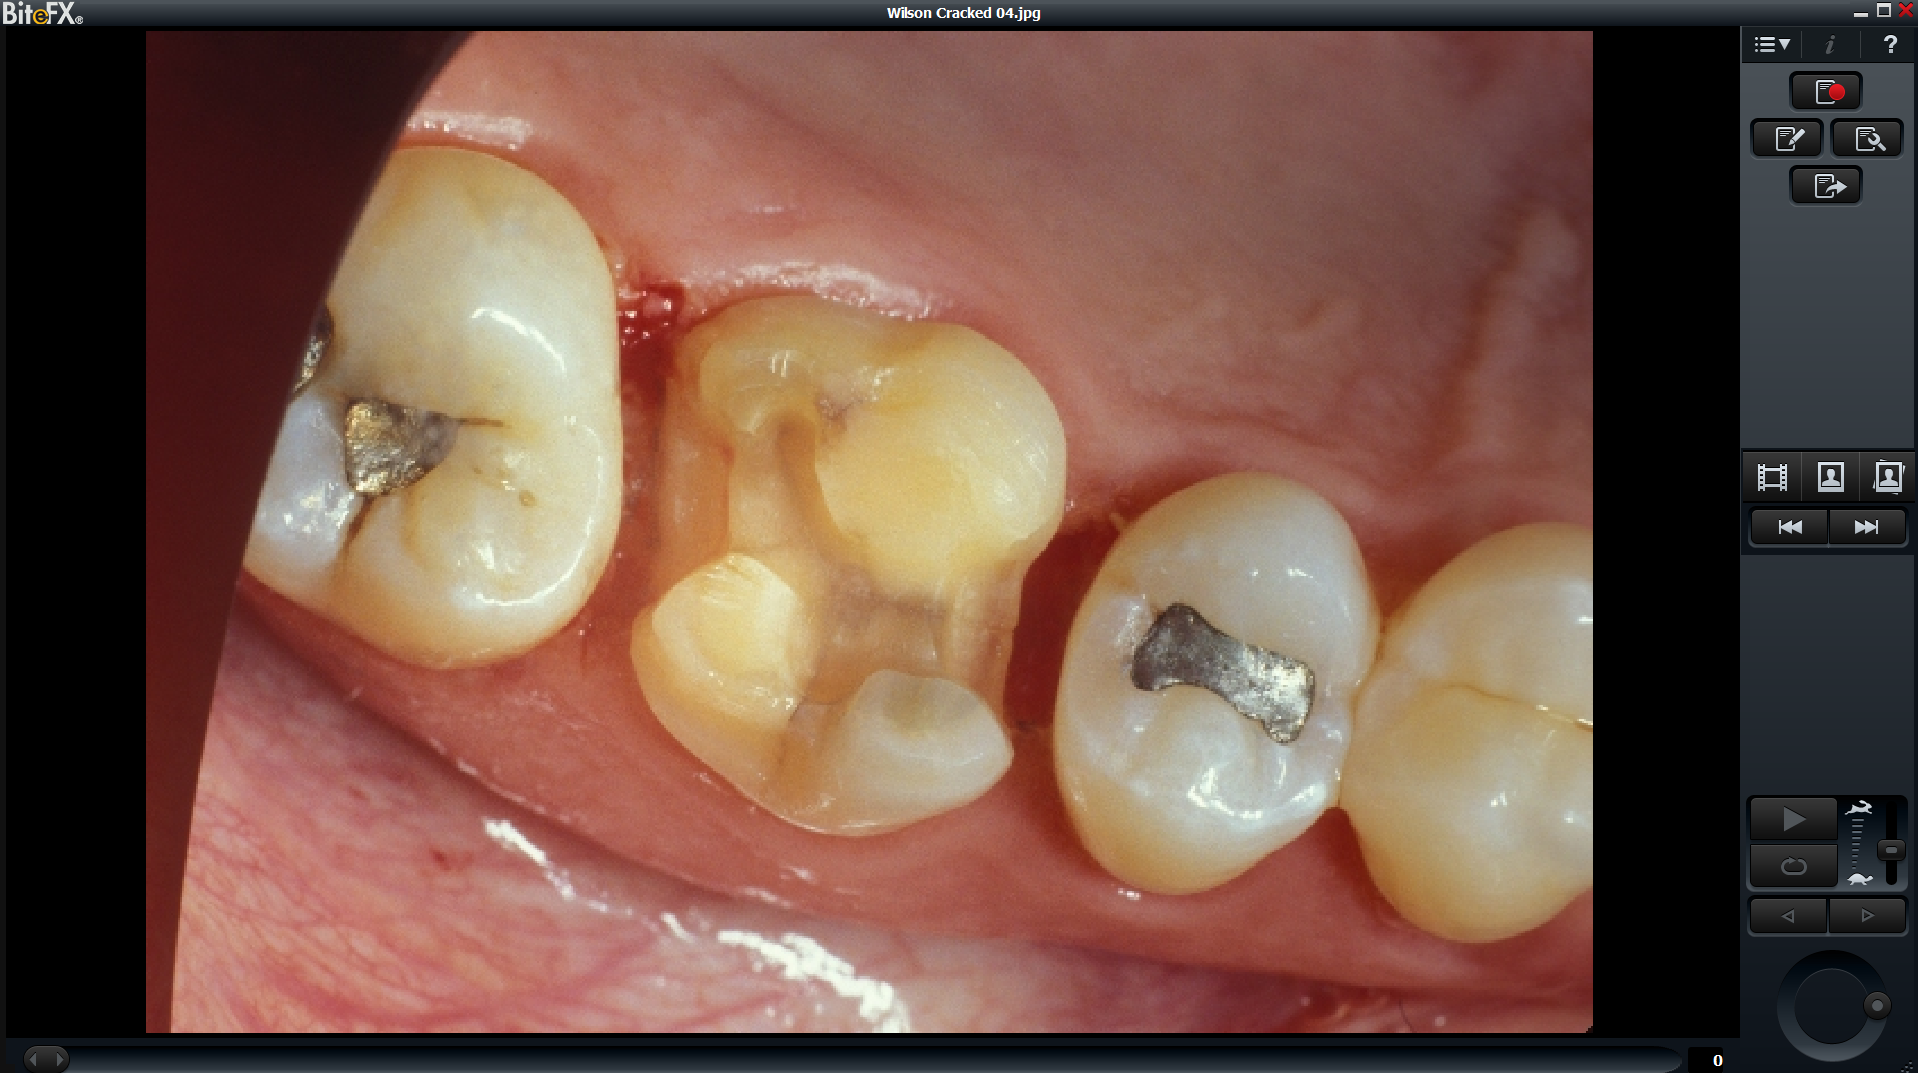
Fig 2. Normal display of a picture when selected from the "Wilson" imported album
If the Picture panel is still open when the folder is moved, you will likely continue to see the thumbnail images in the imported album row as well as any imported thumbnails you copied to a Presentation row.
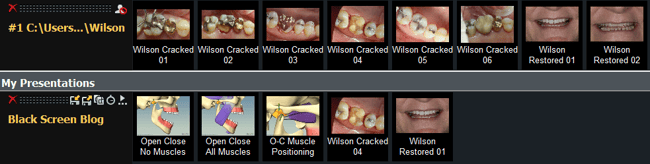
Fig 3. View imported album in the Picture panel after the folder was moved but the Picture panel was left open.
However, once you select any of the imported pictures in an album that has been moved, you will only see the following image displayed:
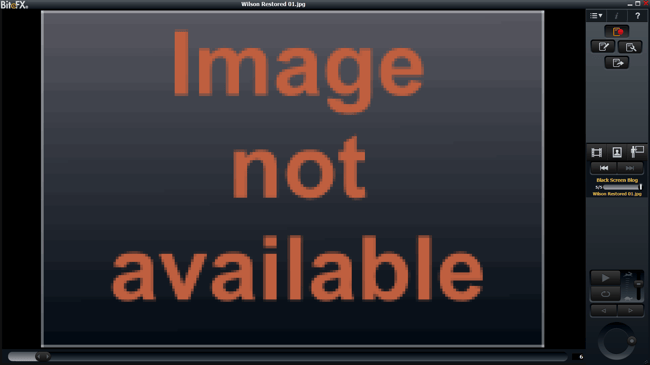
Fig 4. Displayed picture when selecting an imported picture after the folder has been moved
When you open the Picture panel once again, note that the thumbnail images of the imported album are still visible in the Presentation row, but the thumbnails in the album row have disappeared.
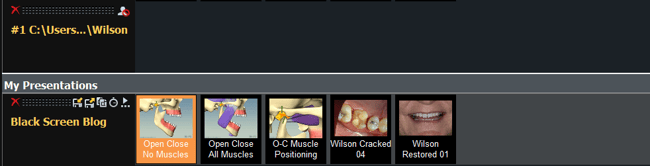
Fig 5. Appearance of imported thumbnails in the Presentation row and Picture panel row after moving folder.
Even if you close BiteFX, when you restart the program, the thumbnail images will remain in the Presentation row. However, if you try to select one of the imported pictures in the Presentation row, you will still get an "Image not available" window.Saved Presentations Are Affected As Well
If you have created presentations of your own that include imported pictures, it is still important not to move the folder that was imported and used to add the pictures to that presentation. As described in the introduction, the import process causes shortcut paths to be created by BiteFX that point to the files in the folder's current location so they must not be moved. If saved presentations are imported and appended to any BiteFX computer and the imported folder has been moved, selecting an imported picture in that presentation will display the "Image not available" window.
What happens if the same server drive has a different letter preceding the directory name on different computers
If you are importing and appending sequences you have created to a local computer from a shared drive on your office server, it is possible that the imported images that were added to that sequence will be displayed as "Image not available". This can happen even if the imported folder from which the pictures originated has not been moved.
Usually we want and expect the drives to be called the same from every computer. However, because some of these "names" are simply letters automatically generated by the system (e.g. on one computer it may appear as Public Server (A:) and on another computer as Public Server (X:), they can be different on each computer. Even though the directory title looks the same, and you can still see its contents (including the folder that was imported and not moved), the shortcut pointer is very exact and the path name must be identical to the settings that existed when the folder was imported and the sequence created. So, here's how this happens:
- You import a folder that is located on your Public Server drive. It appears as A:/Public Server/Patient Pictures/Wilson.
- You create a presentation and add some imported pictures to it.
- You save the presentation on the same drive, A:/Public Server/BiteFX Sequences/Wilson.
- You are on a different computer and want to import your Wilson presentation and do a consult with it for your patient.
- When you select Import and append Presentation in BiteFX on that computer, you navigate to X:/Public Server/BiteFX Sequences/Wilson and then click on "Import".
- As expected, the presentation appears and the imported picture thumbnail are right where they should be, but when you select one of them, the screen only displays "Image not available".
- Because the letter preceding the drive name was an "X" instead of an "A" as it was named on the computer that was used to import the folder, that's all it takes to change the pointer path and display an "Image not available" window.
- To fix this issue, have your IT specialist verify that every computer is configured so the drives that are mapped to those computers have the same exact map name with the same preceding letter.
Helpful Hints to Avoid "Image not available" Being Displayed
Although there are a few nuances as to how and when imported pictures will still be displayed, the important lesson to be learned from this blog is that once a folder of pictures has been created and imported into BiteFX, it is best not to move it. Because patient pictures are valuable resources and it is understandable one may want to be very careful what is done with them, here are a few suggestions:
- Don't try to import a folder containing a large number of pictures - you probably don't need an excessive number of pictures for a consult, and doing so not only requires the BiteFX software to create a large number of shortcuts and load numerous thumbnail images whenever you open the Picture panel, but it also consumes a lot of space in the Picture panel.
- Create a central depository for BiteFX related files such as:
- BiteFX Imported Pictures
- BiteFX Presentations
- BiteFX Installation File
- BiteFX Shared Information
- Create patient sub-folders in the BiteFX Imported Pictures folder and copy the pictures you need into that folder, then don't move it!
If you need further assistance when experiencing an "Image not available" window after selecting imported pictures, please contact us by email at your convenience, or by telephone Mon-Fri 8am–5pm Pacific Time:
1-877-2BiteFX (1-877-224-8339)
International (+1) 530-582-1189