

From the desk of Stu Harman, our support and coaching expert. In this article Stu provides step-by-step instructions how to import your photographs from your iPad Photos app into the BiteFX for iPad app and how to remove them when no longer needed in BiteFX.
As provided in the BiteFX for Windows software, the latest version of BiteFX for iPad also allows you to import your own photographs and integrate them with the animations and BiteFX-provided photos. Photographs can be imported from the iPad photo app (Gallery), or from the iCloud Drive (iCloud). Here is how you do it:
Importing Pictures
Navigating to the Add-Pictures Button
- Start the BiteFX app by tapping on the BiteFX desktop icon.
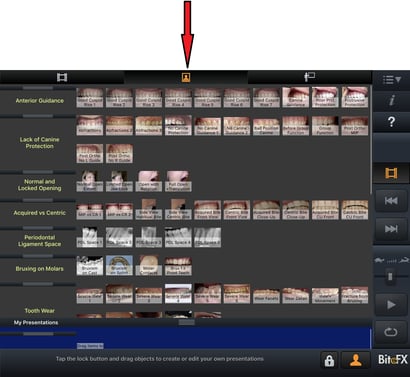
- Tap on the Display animation, picture, presentation template selection panel tab.

- Tap on the Pictures tab at the top, center area of the screen.
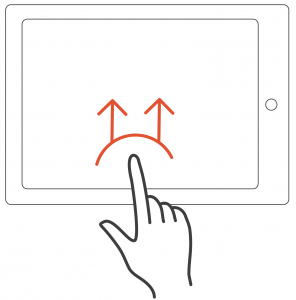
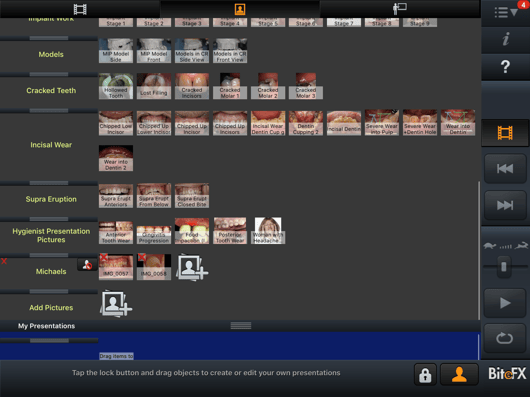
- With your finger, swipe upwards on the screen to scroll to the bottom of the Picture panel.
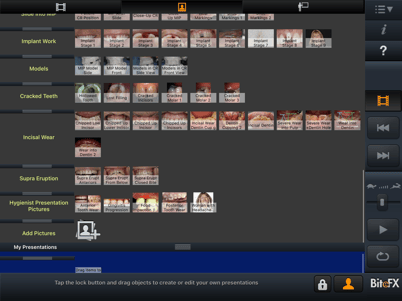
- Tap on the Add-Pictures tab to begin importing your pictures.
Importing Pictures from the Gallery
- In the Import Images dialog, tap on From Gallery.

- Tap on the album that contains the picture(s) you want to import.
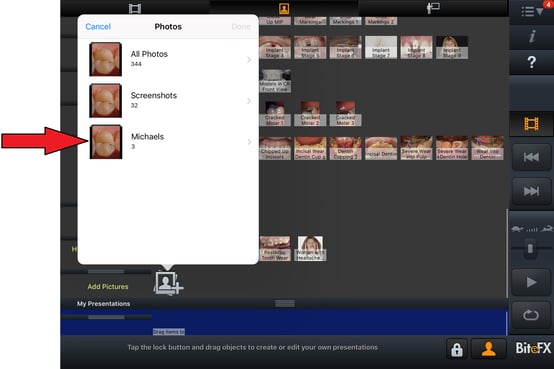
- The pictures contained in the selected album will be displayed.
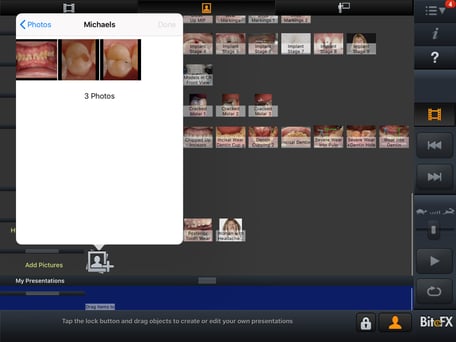
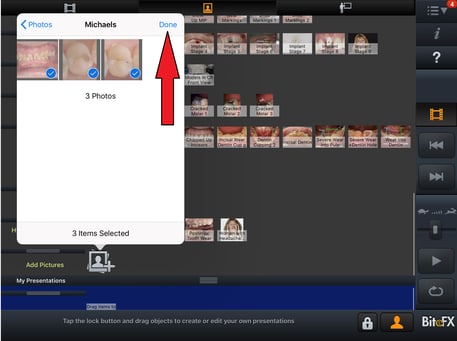
- Tap on each picture thumbnail to select it for importing (note a check mark verifies that the picture has been selected). When finished, tap on Done.
- A Specify Album Name dialog will appear. Tap on the "X" to the left of the default name to clear the name box.
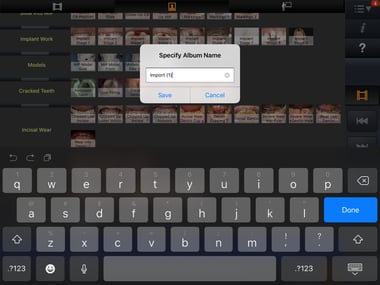
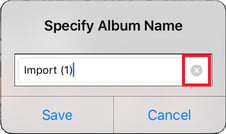
- Tap in the new album name and when finished, tap on Save.
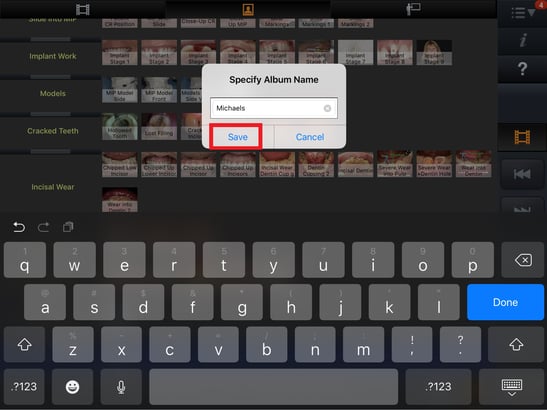
- The album will appear at the bottom of the Picture panel screen. A new Add Pictures row will be added to the panel so you can create another album.
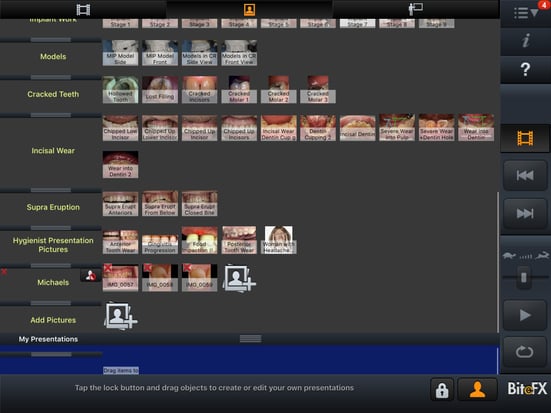
- You can add additional pictures to the album you've just created, or add pictures to the new row by creating a new album as explained in steps 1-6 above.

Removing Pictures
Deleting Individual Pictures From An Album
- You can remove individual pictures from an album you've created by tapping on the red "X" in the upper left corner of the picture's thumbnail.
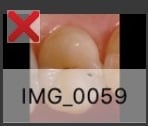
- A Delete Alert dialog will appear for you to confirm that you want to remove the picture from the album. This will not affect the original picture imported to BiteFX.
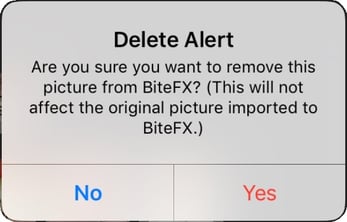
- Tap on Yes to remove the picture from the album.
Deleting An Entire Album From BiteFX
- To delete an entire album from BiteFX, tap on the red "X" in the upper left corner of the album name.

- A Delete Alert dialog will appear for you to confirm that you want to remove the album from BiteFX. This will not affect the original pictures imported to BiteFX.
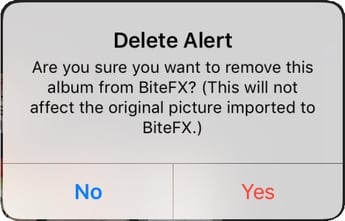
- Tap on Yes to remove the entire album from BiteFX. The deleted album row will revert to a blank Add Pictures row.

Review of Steps
- To add pictures, open the Picture panel.
- Tap the Add Pictures button to import a picture.
- Tap on From Gallery to import pictures from your iPad Photos App.
- Select the pictures you want to import by tapping on the thumbnails, then tap on Done when finished.
- Rename the album.
- If you want, you can add another album by clicking on the Add Pictures button in the row below it.
- To remove individual pictures, tap on the red "X" in the upper left corner of the thumbnail, then tap on Yes to confirm you want to remove it from BiteFX.
To remove an entire album, tap on the red "X" in the upper left corner of the album name, then tap on Yes to confirm you want to remove it from BiteFX.
If you need further assistance learning how to import and remove your own photos with BiteFX for iPad, please contact us by email at your convenience, or by telephone Mon-Fri 8am–5pm Pacific Time:
1-877-2BiteFX (1-877-224-8339)
International (+1) 530-582-1189