

From the desk of Stu Harman, our support and coaching expert. In this article Stu explains how you can share information between multiple BiteFX software installations in your office.
The Options menu allows you to modify the behavior of the BiteFX software to suit your personal preferences. The Information Sharing option submenu allows you to share some key information between BiteFX software installations so you don't have to copy the same information to each individual BiteFX manually. With each BiteFX installation, you can choose what information that particular computer will share with other BiteFX computers. here is the full list of information that can be shared:
- User-defined Presentations
- Session Report Configuration
- Animation Notes, Animation Play Speed, and Picture Notes
The default Option setting for Information Sharing is to not share information.
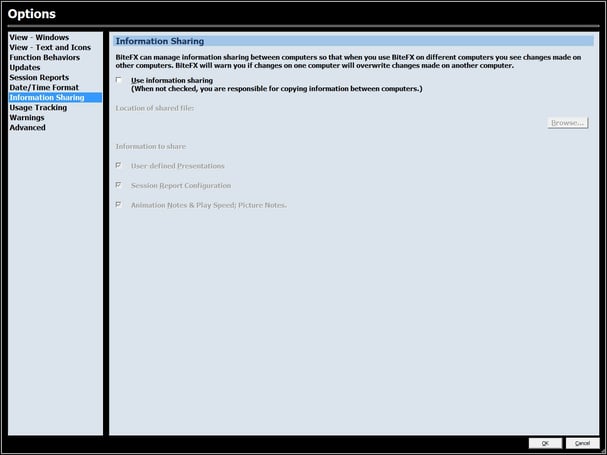
The Information Sharing Window
Setting Up Information Sharing
You'll start by creating a folder on a shared network drive to which your BiteFX computers are mapped. Creating the folder on a shared drive is required for the information sharing process to work. Once the shared folder had has been created, you will then enable information sharing on each installation of BiteFX that you want to share the information, and also set the information categories each BiteFX will be allowed to share.
Create the Shared Folder On Your Network
- Navigate to a suitable network drive that your BiteFX computers are mapped to access (you may want to check with your IT specialist to select or set up the shared drive).
- Create a new folder and name it appropriately, for example "BiteFX Information Sharing".
Configure Information Sharing on the First BiteFX Computer
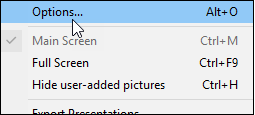
- Start BiteFX and click on the Menu button, then select Options from the menu list.
- In the left column of the Options menu, select Information Sharing.

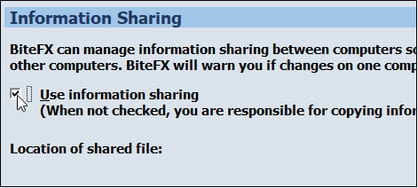
- Click in the box to the left of the text "Use information sharing" to enable it.
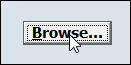
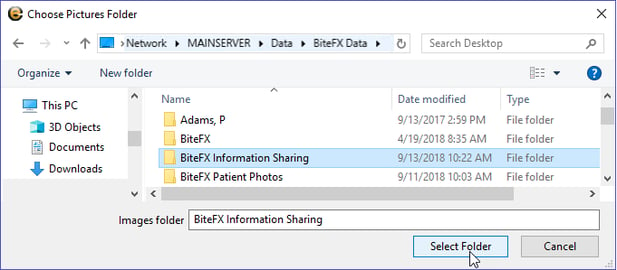
- Click on the Browse button on the right side of the Information Sharing window.
- Navigate to the information sharing folder you created, click on the file name to highlight it, and then click on "Select Folder".
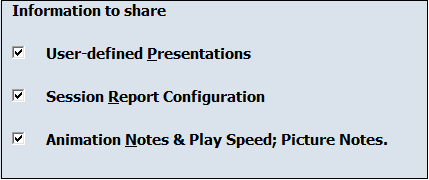
- Select which information sharing categories you want the BiteFX software to share with others. Once Information Sharing is enabled, the default is for all of the information categories to be shared, as indicated by the checked boxes next to each of the three categories.
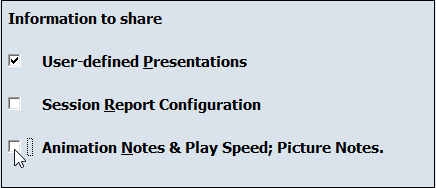
- To deselect a category, just click inside the check box to remove the check mark. In the example below, only User-defined Presentations will be shared by this BiteFX computer:
- When finished, click on the "OK" button at the lower right corner of the Information Sharing window to complete the setup.

Configure Additional BiteFX Computers
On each additional BiteFX computer you wish to enable information sharing, start the software and repeat steps 1-8 in Configure Information Sharing On the First Computer. Remember that you can choose what, if any information each copy of BiteFX will share independently, so they don't need to be configured the same way for every BiteFX.
Overwriting Shared Information
Every BiteFX computer that has been enabled to share information will now be able to a) overwrite the share file or b) accept the changes made by another BiteFX computer.
Overwriting the share file occurs when you close BiteFX. There are four (4) share scenarios, two of which will produce a warning dialog that allows you to select whether to overwrite the shared file from your local computer or not.
- No changes have been by anyone on any computer – the shared file is unaltered and no warning dialog appears.
- Changes have been made by the local computer, but no changes made by any other computer – the shared file is changed but no warning dialog appears.
- No changes made on the local computer by you, but changes have been made by someone else (either on the same computer, or from a different computer), the following dialog will appear:
Click on "Yes" to allow the share file to be over-written by your computer, "No" to preserve the changes made by the other computer, or "Cancel" to abort closing BiteFX.
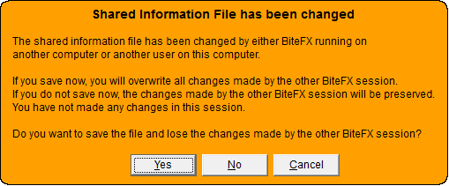
- Changes have been made to the local BiteFX computer and another BiteFX computer - the following dialog will appear:
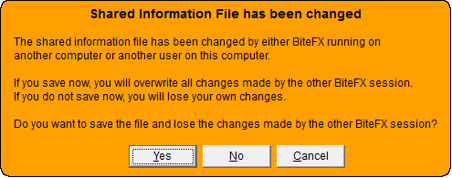
Click on "Yes" to allow the share file to be over-written by your computer, "No" to lose your changes and keep the changes made by the other computer, or "Cancel" to abort closing BiteFX.
If you need further setting up Information Sharing in your office, please send us an email or call us at:
1-877-2BiteFX (1-877-224-8339)
International (+1) 530-582-1189
Monday thru Friday, 8am to 5pm Pacific time