

From the desk of Stu Harman, our support and coaching expert. In this article Stu explains how to set-up and use the Auto-Play feature in the BiteFX for Windows software..
The BiteFX for Windows software includes a presentation auto-play feature that can be used to familiarize patients on occlusion-related topics while in your reception area. The auto-play uses a presentation that you create in My Presentations to play the presentation in a continuous loop mode. You may want to use a dedicated Windows laptop or tablet connected to the reception area monitor or TV for this feature. Here's how to set up your auto-play and start the playback.
Creating an auto-play presentation is a three-step process:
Create the Auto-Play Presentation
- With either the Animation or Picture panel open, use the drag-and-drop process to copy thumbnails from the animation and picture panels to a new "My Presentations" row (see How to Create Your Own Presentations).
- At any time, you can rename the presentation by double-clicking on the presentation name, type in the new name, and hit the "Enter" key.
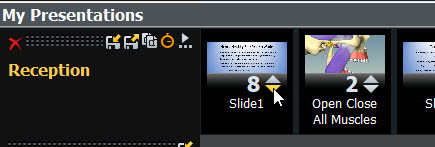
- After you have created your auto-play presentation with animations and/or pictures, it should look something like this:

Creating Text Pictures for Each Thumbnail
BiteFX does not include audio narration in the software, so you may want to create text slides for each animation and thumbnail in the presentation to explain what is being demonstrated. Here is how you can use PowerPoint to create text slides saved as pictures so they can be imported and added to the presentation.
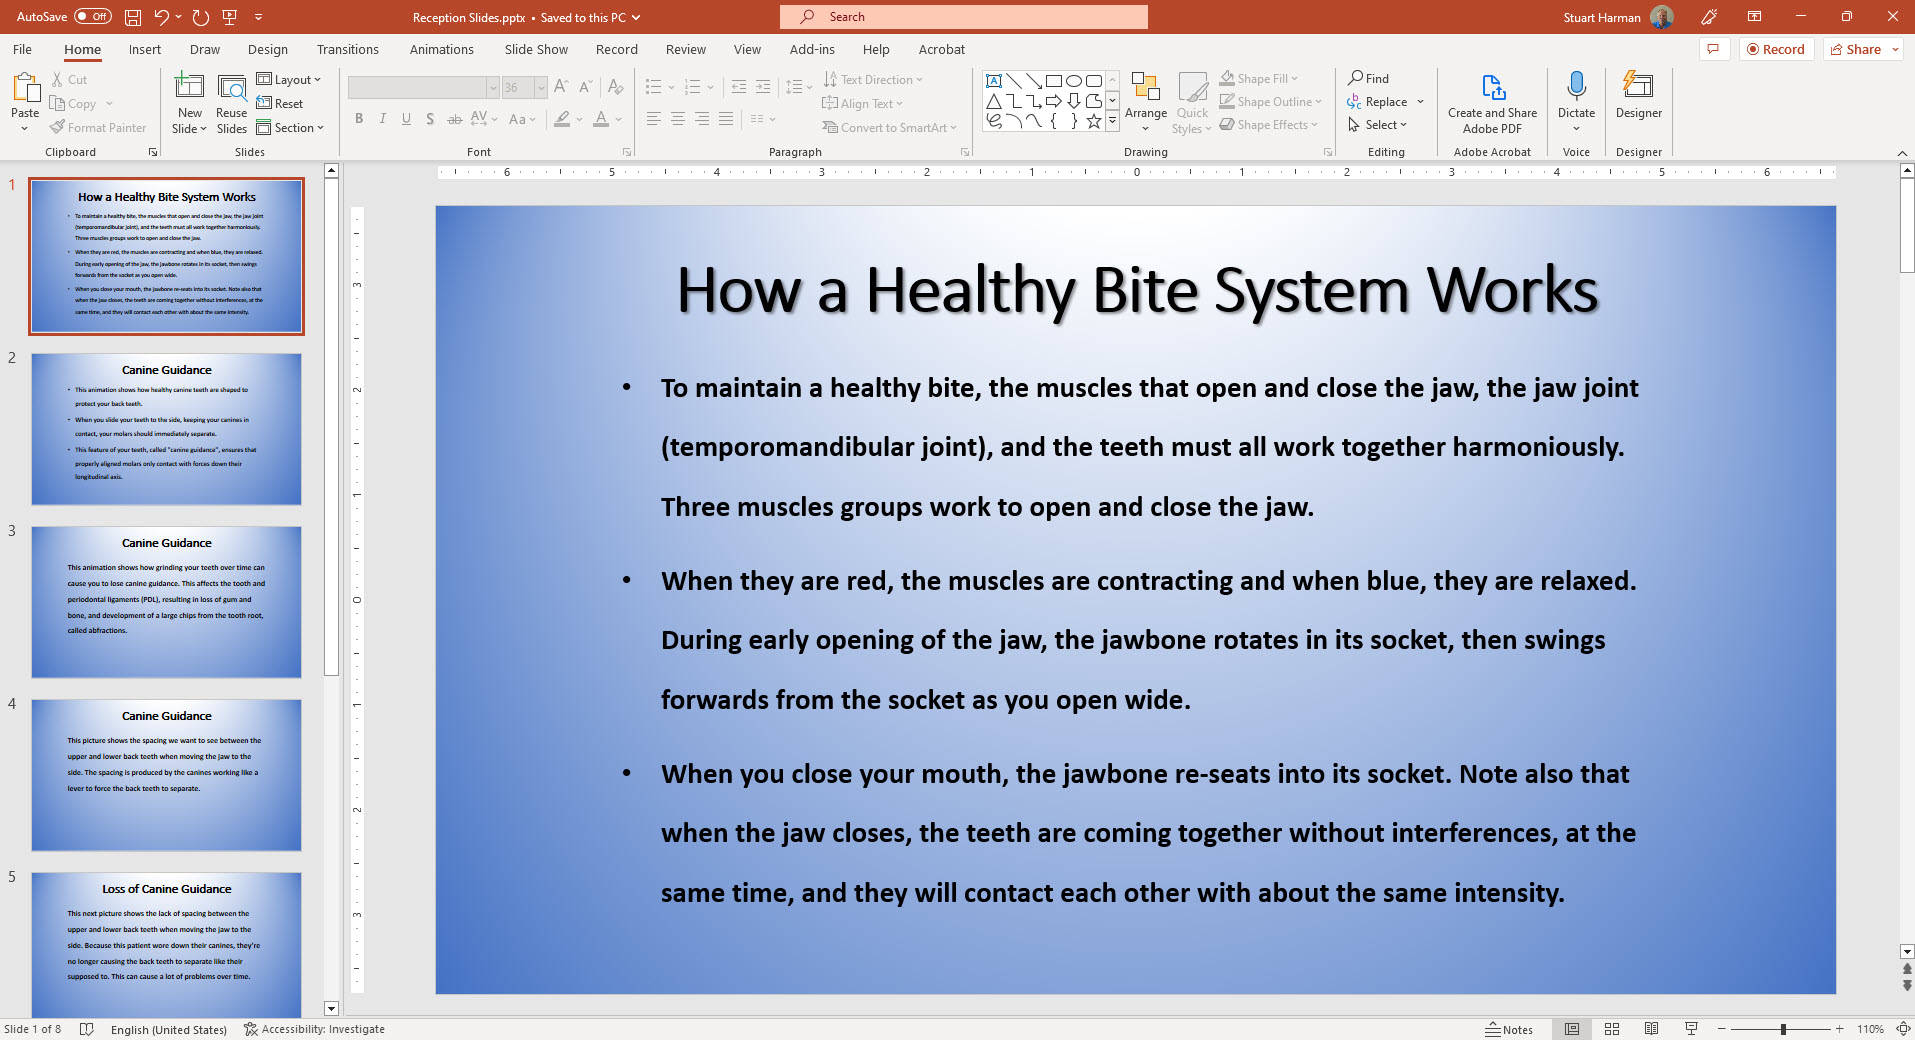
- In PowerPoint, create a text slide for each item in your presentation as shown in the example below:
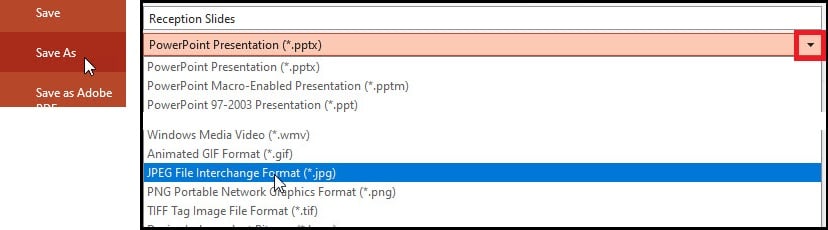
- Now click on "File", then select "Save as" from the list. When the "Save As" dialog appears, click on the down arrow at the far right of the default file type (shown inside red box), then select "JPEG File..." from that list.
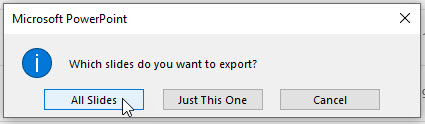
- The next prompt will ask which slides you want to export (save) in JPEG format. Be sure to click on "All Slides". PowerPoint will save all the slides in JPEG format in a new folder that you will be prompted to name.
- Now that the text slides are all contained in one folder, they can be imported into BiteFX and use the drag and drop method to add them to the presentation where needed (see How to Import Images into BiteFX for Windows) for instructions how to import the text pictures.

Program the Thumbnails
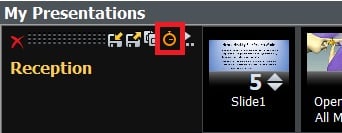
- Click on the "Auto-play settings" icon to display the programming icons on each thumbnail in the presentation.

- Click on the Up & Down buttons to program each item in the presentation. With animations, the number shown indicates how many times the animation will loop (play) before progressing to the next item. The default setting for animations is to only play once (1 loop) and can be set to loop up to 99 times. With pictures, the number shows how many seconds the picture will be displayed before moving to the next item. The default display time is 5 seconds, and the time can be increased up to 99 seconds. With both animations and pictures, setting the number to "0" will cause that item to be skipped in the playback.

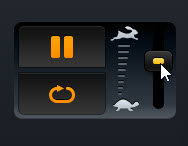
Preset the Play Speed for Animations
- Click on the "Auto-play settings" icon again to turn off the programming icons, then click anywhere inside the first animation in your presentation to select it.
- While playing the animation, move the play speed controller so the animation is playing at a pace you like.
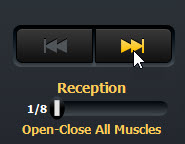
- Click on the "Next animation/picture" button to select the next animation in the presentation and preset its play speed. Continue doing so until every animation's play speed has been preset.
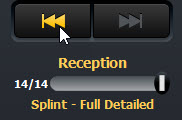
- Now click on the "Previous animation/picture" button to select the first item in the presentation. Open the "Animation panel".
Start AutoPlay
When ready, just click on the "Start Presentation auto-play" icon. The presentation will play as programmed and when it reaches the end, will begin again and continue doing so indefinitely. To stop the playback, just click on the "Play/Pause" button in the BiteFX control panel.

Setting Up and Starting Auto-Play Steps Review:
- Create your reception area presentation.
- If you want, create text slides in PowerPoint for each animation & picture in the presentation, save them as JPEG images, import the folder, then add text pictures to the presentation. (Optional)
- Click on the "Auto-play settings" icon to reveal the programming icons.
- Program each animation to the number of times you want each to loop, and program each picture for how many seconds you want each t to be displayed.
- Click on the "Auto-play settings" icon again to turn off the programming icons and preset the play speed for each animation.
- Use the "Previous animation/picture" button to go back to the first item in the presentation.
- Open the Animation panel and click on the "Start Presentation auto-play" button.
If you need further assistance setting up your Presentation Auto-play feature in BiteFX for Windows, please send us an email or call us at:
1-877-2BiteFX (1-877-224-8339)
International (+1) 530-582-1189
Monday thru Friday, 8am to 5pm Pacific time